 Save
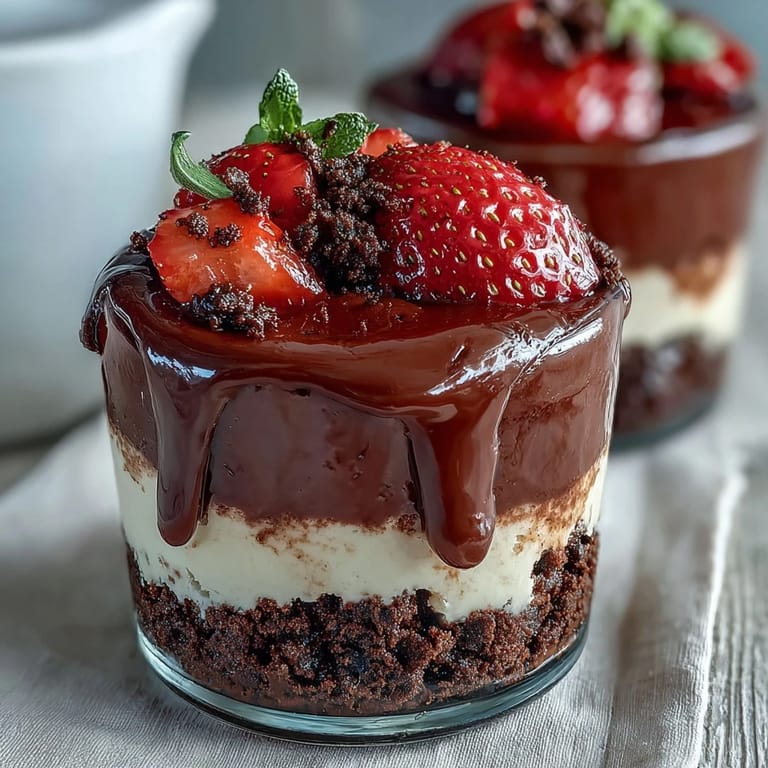
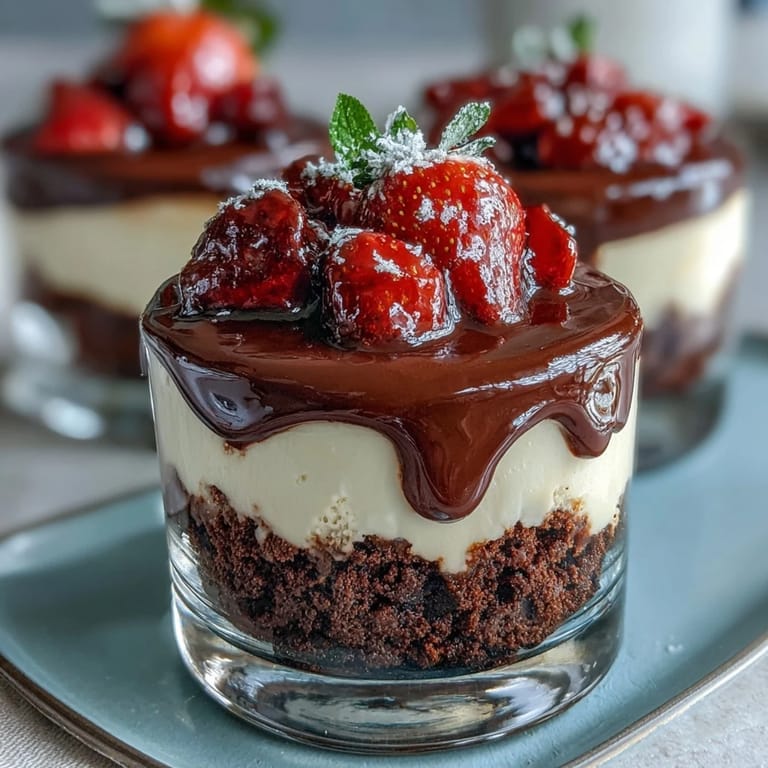
Save My friend Sarah brought these home from a Dubai trip and set them on my kitchen counter in the most casual way, like she'd just grabbed them from any bakery. One spoonful and I understood why she'd talked about them the entire flight back. The layers—that buttery chocolate base, the clouds of cheesecake, the bright strawberry middle, and that glossy ganache on top—felt almost too elegant for how simple they actually are to make. Since that afternoon, I've made them dozens of times, always in the same small glass cups, always with the same sense of quiet satisfaction when everyone takes that first bite.
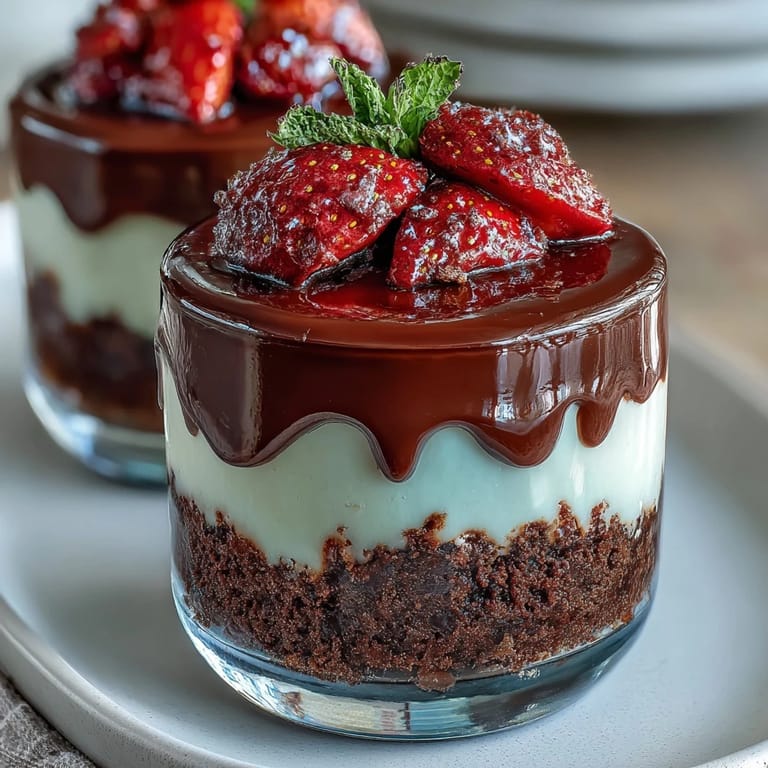
I made these for my partner's birthday dinner last spring, and watching his face when he saw the layers of chocolate and strawberry perfectly stacked in those clear cups was better than any fancy restaurant could offer. He kept saying he couldn't believe they weren't store-bought, and I let him believe it took way longer than it actually did. The whole evening felt special because of how something so achievable looked so intentional.
Ingredients
- Chocolate digestive biscuits: These crushed biscuits form the sturdy, flavorful base that holds everything together, and honestly, they're way better than regular graham crackers because they bring actual chocolate flavor to the foundation.
- Unsalted butter: Just enough to bind everything and make that base press together beautifully without getting greasy.
- Cream cheese: Make sure it's soft before you start beating it, or you'll spend forever trying to get it smooth and risk overworking it.
- Powdered sugar: Dissolves instantly into the cream cheese, unlike granulated sugar which sometimes leaves little grainy bits.
- Heavy cream: Keep it cold until the last second, and you'll whip it into those perfect soft peaks that fold in like clouds.
- Vanilla extract: A small amount, but it adds that quiet vanilla note that brings everything together.
- Fresh strawberries: The fresher the better, and hulling them yourself costs less and tastes noticeably better than pre-cut ones.
- Dark chocolate: Chopped finely so it melts evenly when the hot cream hits it, creating that silky ganache.
- Whole strawberries and garnishes: These sit on top, so pick the prettiest ones and let them be the final touch.
Tired of Takeout? 🥡
Get 10 meals you can make faster than delivery arrives. Seriously.
One email. No spam. Unsubscribe anytime.
Instructions
- Crush and press the chocolate base:
- Crush your biscuits into uneven crumbs (some slightly chunky texture is nicer than fine powder), then stir in melted butter until it looks like wet sand. Press a small handful firmly into each cup so the base stays put when you add filling on top.
- Whip the cheesecake filling:
- Beat your soft cream cheese and powdered sugar until completely smooth, then in a separate bowl whip your cold cream and vanilla to soft peaks. This takes about two minutes and you'll see it go from liquid to fluffy, then fold it gently into the cream cheese with a spatula, turning the bowl as you go.
- Layer the filling:
- Spoon or pipe your cheesecake mixture over the base, smoothing it level with the back of a spoon. This layer should be thick enough that the strawberries sit on top without sinking.
- Macerate and layer strawberries:
- Toss your sliced strawberries with a tablespoon of sugar and let them sit for 10 minutes so they release their juice and become juicier. Divide them evenly over the cheesecake layer in each cup.
- Make the ganache:
- Heat your heavy cream until tiny bubbles form around the edges, pour it over chopped chocolate, wait one minute so the heat can do its work, then stir until glossy. Spoon a thin layer over the strawberries, letting it cool just slightly so it doesn't run right off.
- Chill and set:
- Refrigerate for at least two hours until everything is cold and firm. The longer it sits, the more the flavors settle into each other.
- Garnish before serving:
- Top each cup with a whole strawberry, chocolate shavings if you're feeling fancy, and crushed pistachios if you want that nutty contrast.
 Pin it
 These cups have become my go-to when I want to impress someone without the stress, when I need dessert ready but don't want to bake, and honestly, when I just want to eat something that tastes like someone else made it for me. There's something about eating dessert from a cup with a spoon instead of a plate that makes the whole thing feel more indulgent.
Why These Work for Any Occasion
Whether you're hosting a dinner party, bringing something to a gathering, or just wanting chocolate and strawberry in your life on a random Tuesday, these cups deliver. They look intricate enough for formal entertaining but casual enough that nobody feels weird eating them with a spoon straight from the cup. I've made them for brunches, taken them to picnics in a cooler, and served them as the finale to quiet evenings at home.
Make It Your Own
The structure is solid, but the fun part is playing with what goes inside and on top. Sarah mentioned that in Dubai, some versions add a pinch of cardamom to the cheesecake filling, which sounds strange until you taste how it brings an almost floral warmth that makes the chocolate deeper. I've also tried layering crushed pistachios between the base and filling, which adds this unexpected crunch that changes the whole texture experience.
Storage and Timing Tips
These actually improve when made ahead—the flavors meld together overnight and the whole thing becomes more cohesive. Keep them covered in the fridge for up to 24 hours, and pull them out about 10 minutes before serving so the ganache isn't quite so stiff. If you're using gluten-free biscuits, the process is identical and nobody will taste the difference, which is always a relief when you're cooking for someone with restrictions.
- Make them the night before so you're completely relaxed when guests arrive.
- If your ganache sets too firm before you can spread it, just let it warm at room temperature for a few minutes.
- Use clear glasses or cups so people can admire the layers before they eat.
 Pin it
 These cups somehow make you feel like you're sitting in a Dubai hotel having dessert that costs three times what you actually spent. That's the real magic here.
Frequently Asked Questions
- → What kind of biscuits work best for the base?
Chocolate digestive or chocolate graham crackers provide a rich, crunchy foundation that pairs well with creamy layers.
- → Can I add nuts to these cups?
Yes, adding crushed pistachios between layers offers a delightful nutty contrast and texture.
- → Is it necessary to chill the cups for 2 hours?
Chilling allows the filling to set properly, enhancing texture and flavor balance in every bite.
- → How do I achieve a smooth ganache topping?
Heat cream to a simmer before pouring over chopped chocolate; stir gently until glossy and smooth.
- → Can the cups be prepared ahead of time?
Yes, they can be assembled up to 24 hours in advance and kept chilled to maintain freshness.