 Save
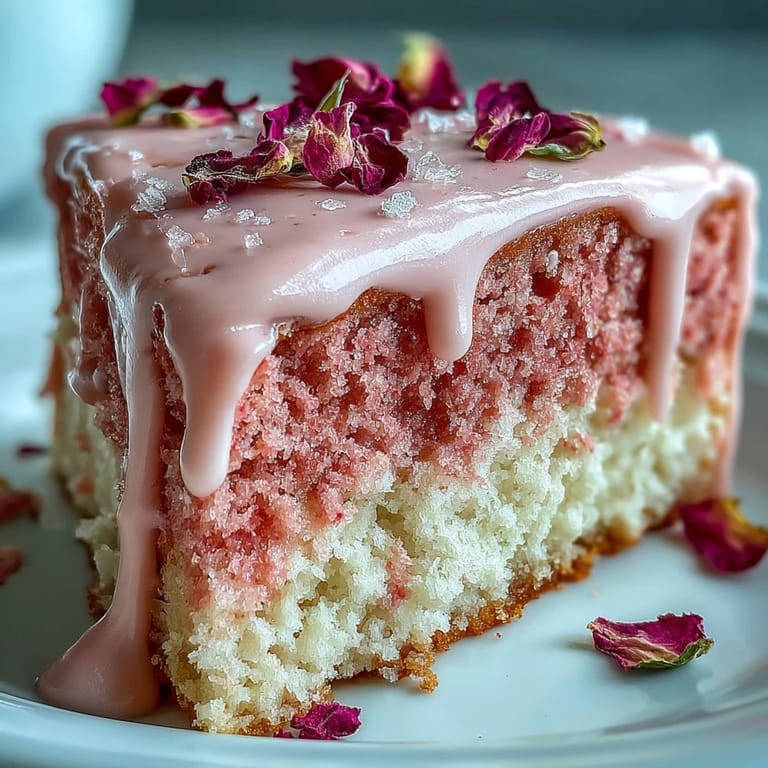
Save The faint, sunlit glint of rosé wine always reminds me of springtime beginnings, so when I first tinkered with the idea of a velvet cake infused with rosé, the kitchen felt almost giddy with possibility. Chopping white chocolate and swirling luster dust all over the countertop, I played music a bit too loud and probably wobbled my cake pans—perfection was never the goal, but glamour sure was. There's something irresistible about transforming a bottle of blushing wine into a dessert that visually charms and genuinely surprises with its flavor. This cake became my standby for celebratory afternoons, especially when friends wanted something cheerful and unique but still classic. The golden drip was a happy accident, inspired by a little leftover luster dust I couldn't resist using that first trial afternoon.
One Saturday before a friend's bridal shower, I stood in an apron dusted with powdered sugar, whispering pep talks to myself while painting gold onto cooling chocolate drips. The laughter floating from the next room made the air warm and fizzy, and as I set the finished cake on the table, the oohs and gasps felt like a mini standing ovation. It wasn't just about cake—it was a centerpiece that brought everyone together for a sparkling toast and a round of stories that lasted until dusk.
Ingredients
- All-purpose flour: This cake base thrives on the softness of flour sifted well, so don't skip that step—it means lighter layers every time.
- Granulated sugar: It gives structure and sweetness; I learned it needs to be well mixed in to avoid little crunchy surprises.
- Baking soda: The rise comes entirely from this, so always double-check yours is fresh for maximum fluff.
- Fine salt: Just a pinch cuts through the sweetness to keep each bite balanced.
- Cocoa powder: Even a tablespoon brings subtle depth without making the cake chocolatey—it's that hint people can never quite place.
- Vegetable oil: For that signature velvet crumb, nothing works like good neutral oil for moistness.
- Large eggs, room temperature: Set them out early—cold eggs can make batters curdle and bake unevenly.
- Buttermilk, room temperature: This is where the tang comes from; it reacts with the baking soda for extra lift.
- Rosé wine: Dry or sparkling is best for a gentle, fragrant finish—you really can taste it, especially the day after baking.
- Vanilla extract: The flavor rounds everything out—use a generous pour if you love warmth.
- White vinegar: It seems odd, but this is the secret to that true velvet texture—don't worry, you won't taste it.
- Pink or rose gel food coloring: Gels don’t water down your batter, so you get vibrant color with just a drop or two.
- Unsalted butter, room temperature: It whips up fluffiest if left out until just pliable—not greasy, not cold.
- Powdered sugar, sifted: Trust me: sifting makes the buttercream impossibly smooth.
- Edible gold luster dust: This turns the cake into an actual centerpiece—buy only those marked edible for safety.
- White chocolate chips: They melt quickly and smoothly for the drip; any lumps and you’ll need to start over.
- Heavy cream: The tweak that keeps the drip glossy, not brittle.
- Vodka or clear lemon extract: A little splash helps the gold pigment glide on—alcohol evaporates so there’s no boozy taste.
Tired of Takeout? 🥡
Get 10 meals you can make faster than delivery arrives. Seriously.
One email. No spam. Unsubscribe anytime.
Instructions
- Prep Your Pans:
- Preheat your oven to 350°F and nestle parchment in three 8-inch pans—swirls of butter in the corners help too.
- Sift the Dry Ingredients:
- In a large bowl, sift together flour, sugar, baking soda, salt, and cocoa until the powdery mix feels almost cloudlike between your fingers.
- Mix the Wet Ingredients:
- Whisk up oil, eggs, buttermilk, rosé, vanilla, and vinegar—this is the moment the kitchen smells lightly tangy and floral at once.
- Combine and Color:
- Blend wet and dry mixtures gently, then swirl in just enough gel coloring for your perfect blush; stop mixing while it's still a bit streaky.
- Bake the Layers:
- Divide between your pans and bake for 30-35 minutes—when the cakes spring back after a gentle poke, they're done.
- Cool Completely:
- Let cakes rest in pans for 10 minutes, then turn onto a rack and cool until they're completely room temp—impatience here is the enemy of smooth icing.
- Whip the Rosé Buttercream:
- With a mixer, beat the butter until creamy, then add powdered sugar gradually until no lumps remain; finish with rosé, vanilla, a pinch of salt, and whip until fluffy.
- Layer and Crumb Coat:
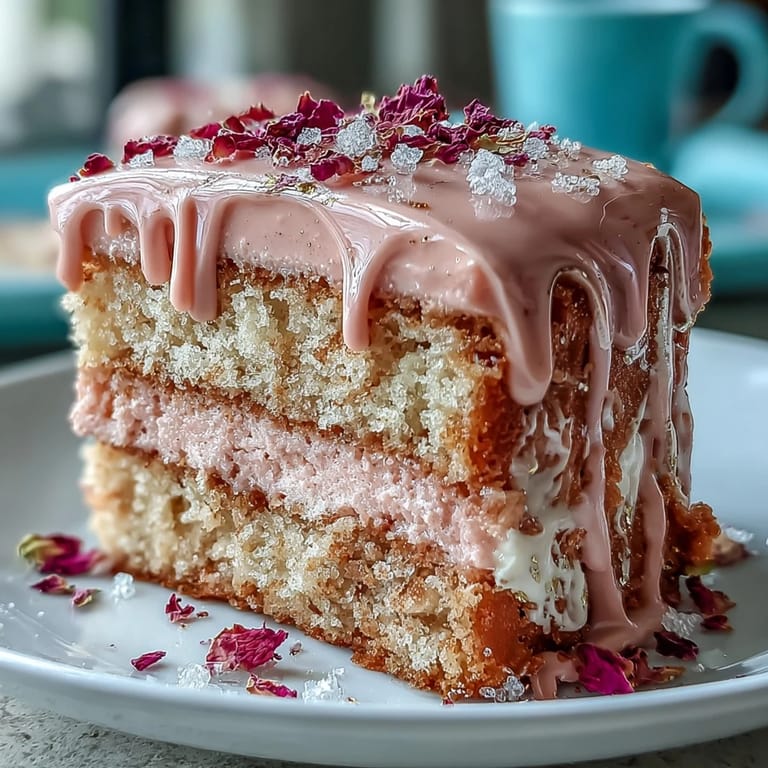
- Place the first cake layer down, spread with buttercream, and repeat; cover the whole cake in a thin coat to trap crumbs, then chill before your final swoop of icing.
- Make the Gold Drip:
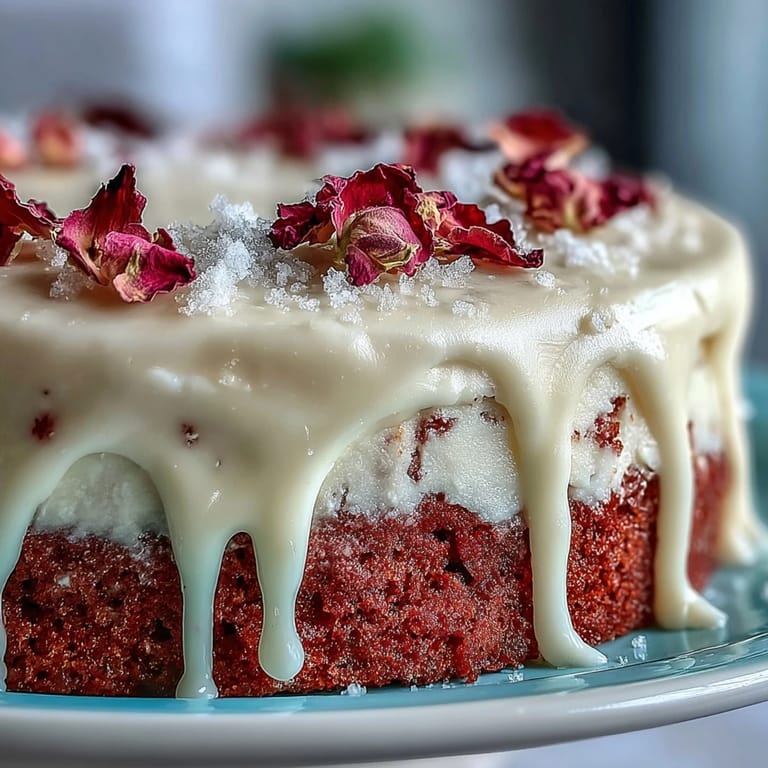
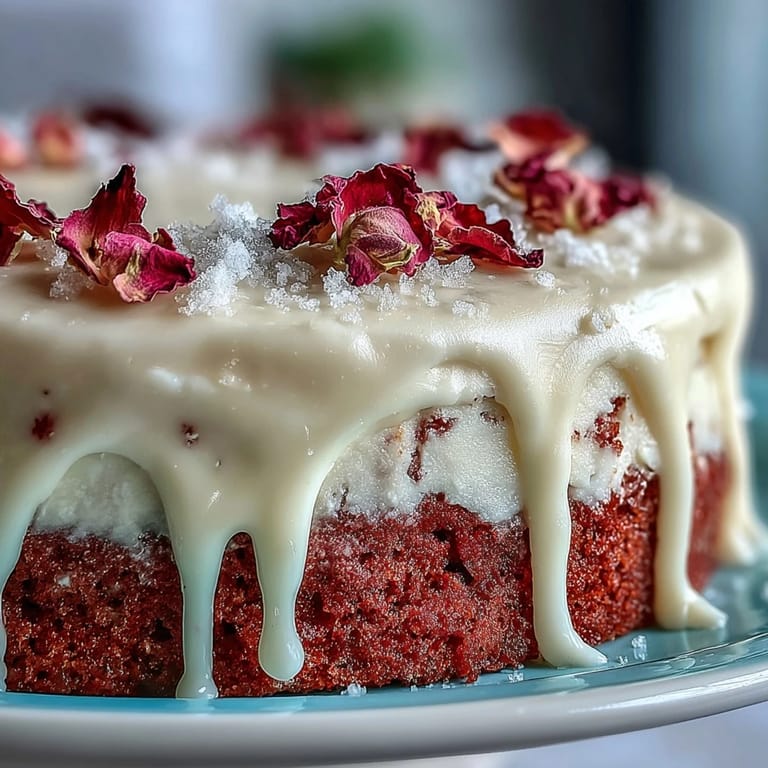
- Melt the white chocolate and cream together until silky, let cool slightly, then pour around the cake's edge so it drips, not floods.
- Paint the Gold:
- Mix luster dust with vodka or lemon extract, then paint over each drip with a clean food brush for instant dazzle.
- Decorate and Serve:
- Adorn with additional edible gold flakes, rose petals, or berries if you like—it's your stage now.
 Pin it
  Pin it
 When the last bridesmaid finally arrived and everyone circled the cake, we toasted not just to the bride but to a cake that felt too pretty to cut—though of course we did, and every slice was met with laughter, rosy crumbs, and a little shimmer left on fingertips. There are photos from that day where you can practically taste the happiness (and the wine!).
Making Each Component Shine
If you're nervous about splitting tasks, make the layers ahead—chilling overnight actually helps flavors meld. Earlier attempts taught me that saving the gold drip for last means less mess and fewer repairs—it’s oddly soothing to paint the final touch just before serving.
Mastering the Gold Drip
Mixing the gold luster dust can feel intimidating, but the key is using just enough liquid to form a smooth paint—too much and it runs, too little and it streaks. Practice a drip or two on parchment first; even imperfect drips look intentional once the cake is decorated.
Troubleshooting & Small Triumphs
Don't stress if your batter looks a tad lumpy—by the time it's baked, those will have smoothed out. My first few gold drips were more splatter than glamour, but with a steady hand (and deep breaths), they got brighter each try. And if you accidentally get gold paint on your fingers, just call it extra sparkle.
- Always chill the cake before applying the drip for best results.
- Apply the buttercream generously between layers for a tall, stunning slice.
- Store leftovers in the fridge and enjoy with afternoon coffee—the flavors really sing the next day.
 Pin it
  Pin it
 Let this cake be a little celebration in itself—there's bound to be a gold-flecked memory in every rosy slice. Serve boldly, with a toast and a smile, and watch it become a favorite moment of any gathering.
Frequently Asked Questions
- → Can I use non-alcoholic rosé?
Yes. Use a non-alcoholic rosé or a rosé-flavored syrup; adjust liquid amounts slightly to maintain batter and buttercream consistency. Taste as you go to preserve the floral notes.
- → How do I get an even pink color?
Use gel or paste coloring for a vibrant hue without thinning the batter. Add a little at a time until you reach the desired shade, then mix gently to avoid overworking the batter.
- → How do I achieve a smooth buttercream finish?
Apply a thin crumb coat and chill until firm, then apply the final layer with an offset spatula. Use a bench scraper and rotate the cake for smooth sides, chilling between passes if needed.
- → What consistency should the white chocolate drip have?
The drip should be pourable but not runny—thick enough to cling at the edge. Melt white chocolate with cream, cool for a few minutes, then test a small drip and adjust with more cream for flow or let it thicken if too loose.
- → Is edible gold luster dust safe to use?
Use only food-grade, edible luster dust mixed with a small amount of food-safe liquid (vodka or clear extract) for painting. Do not use non-edible metallic paints.
- → How far ahead can I make the cake?
You can assemble and chill the finished cake a day ahead. Store refrigerated, then bring to room temperature before serving to restore tenderness and flavor.