 Save
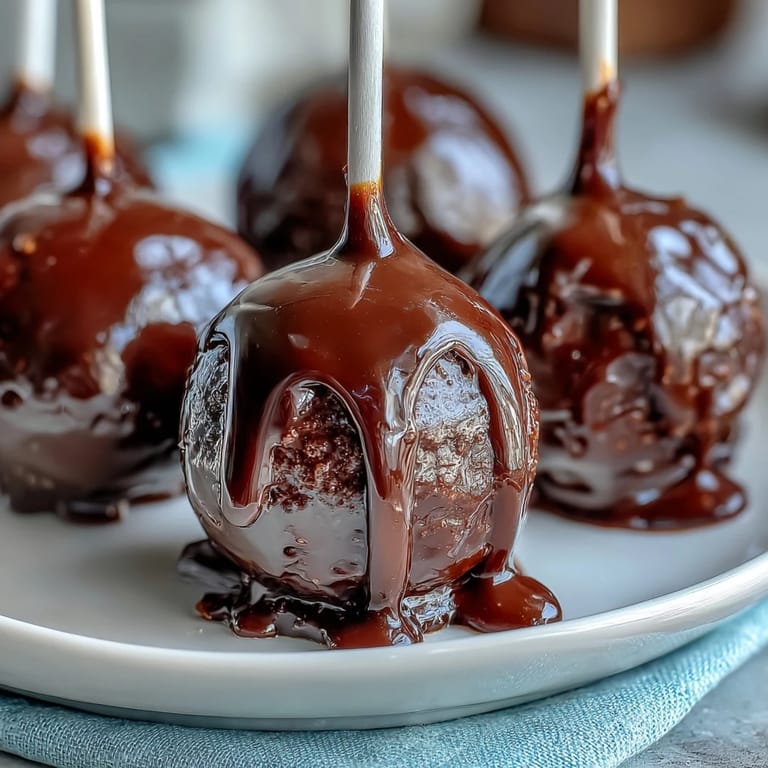
Save My mom called me three days before graduation asking if I could make something special for the celebration brunch. I was already stressed about finals, but the moment she mentioned our school colors, I knew exactly what to do—cake pops with that perfect pop of gold to match the ceremony. There's something about creating something small and beautiful that felt like the right way to mark that moment, like I was baking a tiny celebration into each bite.
The first batch I made, I was rushing and didn't chill the cake balls long enough. They fell right off the sticks into the melted candy and I panicked for a second, but my sister fished them out with a fork and we both laughed—then I learned my lesson and actually set a timer. That hour in the fridge became my quiet moment before the chaos of graduation week.
Ingredients
- Vanilla or chocolate cake mix: This is your shortcut to success, and honestly, there's no shame in it—the box mix bakes evenly and pairs beautifully with homemade frosting, giving you the best of both worlds.
- Unsalted butter and powdered sugar: When you cream these together, you're building the glue that holds everything together, so don't skip the beating step or your balls will crumble apart when you dip them.
- Milk and vanilla extract: These small additions make the frosting taste homemade and creamy rather than cloyingly sweet.
- Candy melts in school colors: Get them at any craft or baking store—they melt smoother than chocolate chips and come in every color you can imagine, which is half the fun of this recipe.
- Vegetable shortening or coconut oil: A tablespoon or two in your melted candy melts thins them out just enough so they coat silkily instead of thickly, which makes all the difference in how professional they look.
- Gold sprinkles or edible gold glitter: This is where the magic happens—applied while the coating is still wet, it sticks perfectly and catches the light in a way that makes people actually gasp.
- Lollipop sticks and Styrofoam block: The sticks are your handle and the block is your drying stand; don't skip either because you'll need both to keep things organized and upright.
Tired of Takeout? 🥡
Get 10 meals you can make faster than delivery arrives. Seriously.
One email. No spam. Unsubscribe anytime.
Instructions
- Bake the cake and let it completely cool:
- Follow the box instructions exactly—don't overbake, and let it sit on the counter until it's genuinely cool to the touch, not just warm, because warm cake creates mushy cake balls.
- Whip the frosting until it's fluffy and light:
- This step takes about three to four minutes of beating with an electric mixer, and you'll actually see it transform from dense to airy, which is when you know it's ready.
- Crumble the cake and fold in frosting gradually:
- Break the cake into small pieces first, then add frosting a little at a time while mixing—you want a texture that holds together when you squeeze it but doesn't feel slick or greasy. If it's too wet, the balls won't hold their shape; too dry and they'll crack.
- Roll everything into evenly sized balls:
- Use a tablespoon measure or a small cookie scoop to keep them consistent—consistency matters because uneven sizes dip and cool at different rates. A baking sheet lined with parchment makes transferring them to the fridge so much easier.
- Chill the balls in the refrigerator for at least one hour:
- Cold balls are firm and hold onto the sticks better, so don't skip this or rush it. I set my phone timer and used that time to prepare my dipping station.
- Dip the stick ends in melted candy and anchor each ball:
- This little step is the secret to preventing sticks from wiggling loose once they're in the pop. Only insert the stick halfway so there's enough room for your fingers to hold it while dipping.
- Melt your candy melts in separate bowls with optional shortening:
- If the candy feels thick when you test-dip a wooden spoon, stir in a teaspoon of shortening at a time until it flows smoothly. The consistency should resemble warm honey.
- Dip each pop and add gold sprinkles immediately:
- Work quickly because the candy coating sets fast—dip, gently tap off the excess, and sprinkle while it's still wet so everything adheres. Planting it in the Styrofoam block right away keeps it from getting bumped or tilted.
- Let everything set completely before serving or storing:
- This usually takes about thirty minutes at room temperature, though you can speed it up in a cool place or even the refrigerator if you're short on time.
 Pin it
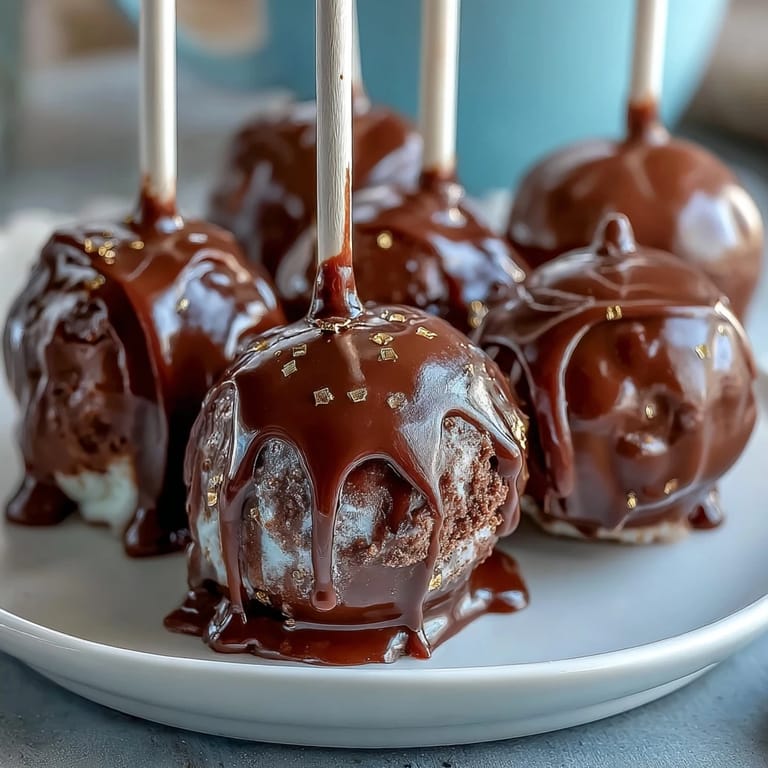
 Watching my mom arrange those pops on a tiered stand for the brunch, surrounded by streamers in our school colors, I realized these weren't just desserts—they were these tiny edible celebrations that everyone wanted to photograph and keep as a memento. That's when I understood why people love cake pops; they're not just delicious, they're keepsakes.
Creating Your Color Palette
The beauty of this recipe is that you can coat half your pops in one school color and half in another, creating a stunning visual when they're displayed together. Some people even do ombré effects by dipping one side in one color and the other side in another, which looks incredibly sophisticated without requiring any special skills. You could also go wild with stripes, but honestly, two solid colors with that glittery gold on top hits just right.
Flavor Combinations Worth Trying
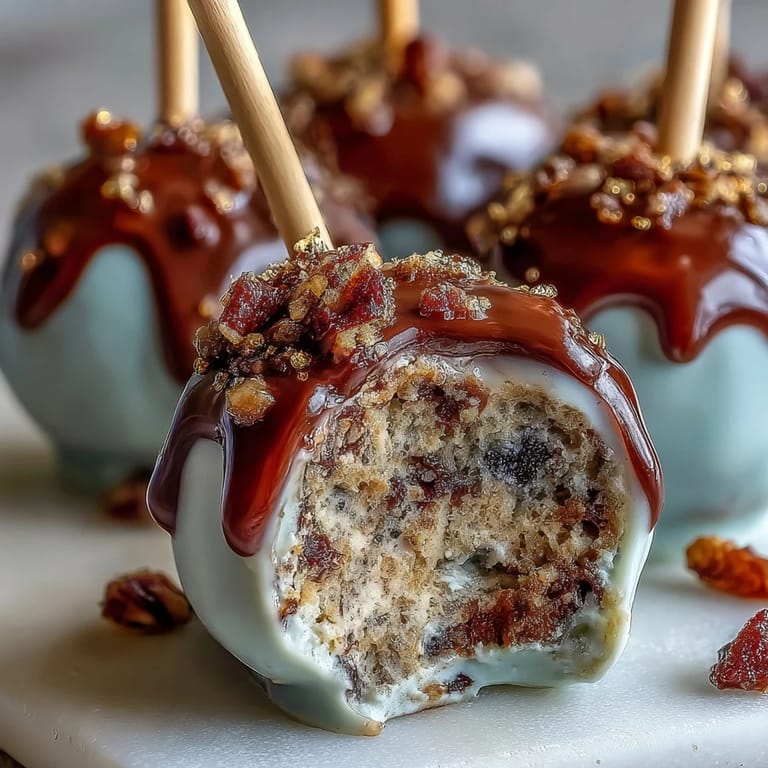
While vanilla cake mix is the tried-and-true choice, chocolate cake with chocolate frosting and those gold sprinkles creates this almost jewel-like effect that photographs beautifully. Red velvet cake mix with cream cheese frosting makes a more luxurious version if you're celebrating something extra special, though it costs a few dollars more. I've also done funfetti cake with vanilla frosting, which feels more playful and fun for younger graduation crowds.
Presentation and Storage Secrets
If you're making these for an event, arrange them in a tall vase or urn filled with decorative paper or crinkled tissue—it looks stunning and saves you from needing an actual cake. Keeping them in an airtight container at room temperature for up to three days ensures they stay fresh, but honestly, they rarely last that long because people eat them immediately. One last thought: tie tiny ribbons around each stick in your school colors, or add a name tag if you're giving them as individual favors—it elevates the whole experience from simple treat to thoughtful keepsake.
- Make the cake and frosting the day before to break up the work and reduce stress on the day you're doing the assembly.
- If you mess up a dip, use a spoon to gently scrape off the candy coating while it's still warm and try again—they're forgiving that way.
- Keep extra melted candy in a shallow bowl so you can re-dip any pops that didn't coat evenly the first time.
 Pin it
 These cake pops turned out to be one of those recipes that feels impressive enough for a special celebration but simple enough that you can actually pull it off without losing your mind. I still make them for every milestone now, and they've become my go-to gift because everyone remembers them.
Frequently Asked Questions
- → How do I ensure cake pops hold together well?
Mix cake crumbs with just enough frosting to create a firm but moist consistency, allowing the mixture to hold shape without being too wet.
- → What’s the best way to get a smooth candy coating?
Melting the candy melts gently and adding shortening or coconut oil can create a smoother dip and finish.
- → How long should cake pops chill before dipping?
Chilling for at least one hour or freezing for 30 minutes helps the cake balls firm up for easier handling during coating.
- → Can I change the cake flavor in this treat?
Absolutely—using different cake mixes like vanilla or chocolate personalizes flavor while maintaining texture.
- → What is the purpose of inserting sticks before coating?
Dipping the stick tip in melted candy before inserting into the cake ball helps secure the stick firmly during coating and serving.
- → How do gold sprinkles enhance the final look?
Sprinkling edible gold glitter adds a festive sparkle and elegant finish that highlights school colors beautifully.