 Save
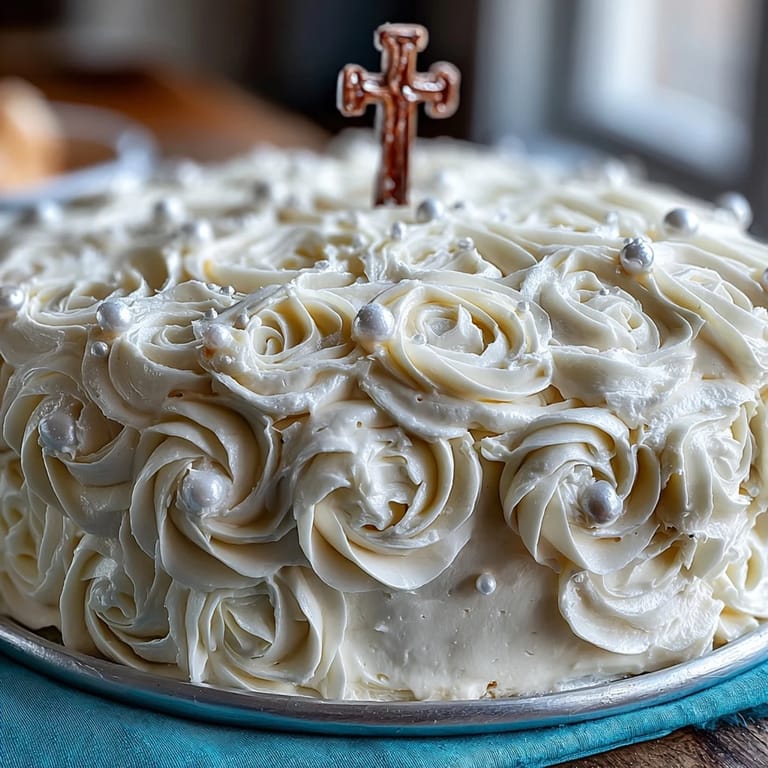
Save There's something about baking a First Communion cake that transforms your kitchen into something sacred, even if you're not particularly religious yourself. I made one on a Saturday morning in spring when the light was just beginning to warm the counters, and halfway through creaming the butter and sugar, my neighbor stopped by and watched the pale yellow mixture grow light and fluffy. She smiled and said it looked like something important was happening, and she was right—there's a particular tenderness to baking a cake for a child's milestone, when you know the taste of vanilla and the softness of fondant roses will be part of someone's memory forever.
I'll never forget decorating my first one with my daughter watching from a stool, pointing out where each rose should go and insisting the cross be perfectly centered. She was six, too young to understand what a First Communion meant, but she understood that white roses meant something special, and that made the whole process feel less like a task and more like creating art together. When we finally stepped back to look at the finished cake, she clapped her hands, and that moment made every careful petal worthwhile.
Ingredients
- All-purpose flour: The backbone of your sponge—make sure it's measured by scooping and leveling, not shaking the measuring cup into the bag, or you'll end up with a denser cake than intended.
- Baking powder: Check the date on your container; old baking powder loses its lift and you'll be disappointed by the rise.
- Unsalted butter: Room temperature is non-negotiable here—cold butter won't cream properly, and your cake will be tough instead of tender.
- Granulated sugar: It dissolves into the butter during creaming, which is what creates that light, airy crumb that makes this cake melt on your tongue.
- Eggs: Room temperature eggs incorporate more smoothly and create a better emulsion with the butter and sugar.
- Pure vanilla extract: Don't be tempted by imitation; the pure version has a depth that makes the whole cake taste more refined and less artificial.
- Whole milk: Should also be room temperature so it doesn't shock the batter and cause the butter to seize.
- Powdered sugar: Sift it before using to avoid lumps in your buttercream, which will show when you spread it.
- White fondant: This is what makes the roses possible; it's forgiving enough for beginners but holds its shape beautifully once you get the hang of shaping petals.
- Cross topper: A small decorative anchor that transforms the cake from elegant to ceremonial—it's worth finding one you love.
Tired of Takeout? 🥡
Get 10 meals you can make faster than delivery arrives. Seriously.
One email. No spam. Unsubscribe anytime.
Instructions
- Prepare your pans and preheat:
- Set your oven to 350°F and grease those pans thoroughly, then line the bottoms with parchment paper—this step seems fussy but it's what guarantees your beautiful cakes slip out cleanly instead of sticking. A little vegetable oil works better than butter for greasing because it creates a thinner, more consistent barrier.
- Mix your dry ingredients:
- Whisk flour, baking powder, and salt together in a bowl, making sure everything is evenly distributed so you don't end up with pockets of baking powder that taste metallic. This simple step prevents lumps and ensures your cake rises evenly.
- Cream butter and sugar into clouds:
- Beat your softened butter and sugar for a full three minutes, watching it transform from grainy to pale and fluffy—this is where the magic begins, because you're incorporating air that will make your cake light. Stop and scrape down the bowl halfway through so everything creams evenly.
- Add eggs with care:
- Drop in one egg at a time, beating well after each addition so it fully incorporates before the next one arrives; rushing this step can cause the batter to look broken and grainy. If your batter does look curdled, just keep beating—a little warmth from the mixer will usually bring it back together.
- Alternate wet and dry ingredients:
- Start with dry, then milk, then dry again, beginning and ending with flour so you don't overmix and develop gluten that will make the cake tough. Low mixer speed is your friend here—you want just combined, not whipped.
- Pour and bake with patience:
- Divide the batter evenly between pans and smooth the tops gently; bake for 30 to 35 minutes until a toothpick comes out clean and the cakes spring back when you touch the top. Cool them in the pans for exactly ten minutes, then turn them out onto wire racks, because leaving them longer can trap steam and make them soggy.
- Make your buttercream:
- Beat softened butter until it's creamy and pale, then gradually add powdered sugar, vanilla, and salt while mixing—adding it all at once will create a dust cloud and make your kitchen look like a snowstorm. Once the sugar is incorporated, add milk or cream one tablespoon at a time until you reach a spreadable consistency that's neither too stiff nor too soft.
- Assemble with the crumb coat method:
- Place your first cooled layer on your cake board, spread a thin layer of buttercream, add the second layer, then coat the entire cake with a thin layer of frosting and chill for twenty minutes. This crumb coat catches all the loose crumbs so your final frosting layer looks pristine and professional instead of speckled.
- Apply final frosting:
- With an offset spatula warmed under hot water and dried, apply a smooth final layer of buttercream in even strokes, working all the way around. Take your time here because this layer is what people see, and smoothness feels elegant.
- Craft your fondant roses:
- Roll out white fondant to about 1/8-inch thickness, then create small roses by rolling pea-sized balls, flattening them into discs, and layering them into petal shapes around a center ball. They don't have to be perfect—slightly imperfect roses look more romantic and handmade than ones that look factory-produced.
- Tint and shape leaves:
- Mix a tiny bit of green gel coloring into a small amount of fondant and roll it out to cut simple leaf shapes that you can press gently onto the cake between your roses. These leaves fill gaps and add realism without requiring any special technique.
- Decorate with intention:
- Arrange your fondant roses and leaves in clusters or a pattern that feels balanced to you, then add edible pearls or dragees for shimmer and texture. Step back and look at it from different angles before committing everything to its final position.
- Crown with the cross:
- Place your cross topper at the center or wherever feels right, pressing it gently into the frosting so it's secure. Chill the entire cake until serving time, which also gives the fondant time to firm up and look its absolute best.
 Pin it
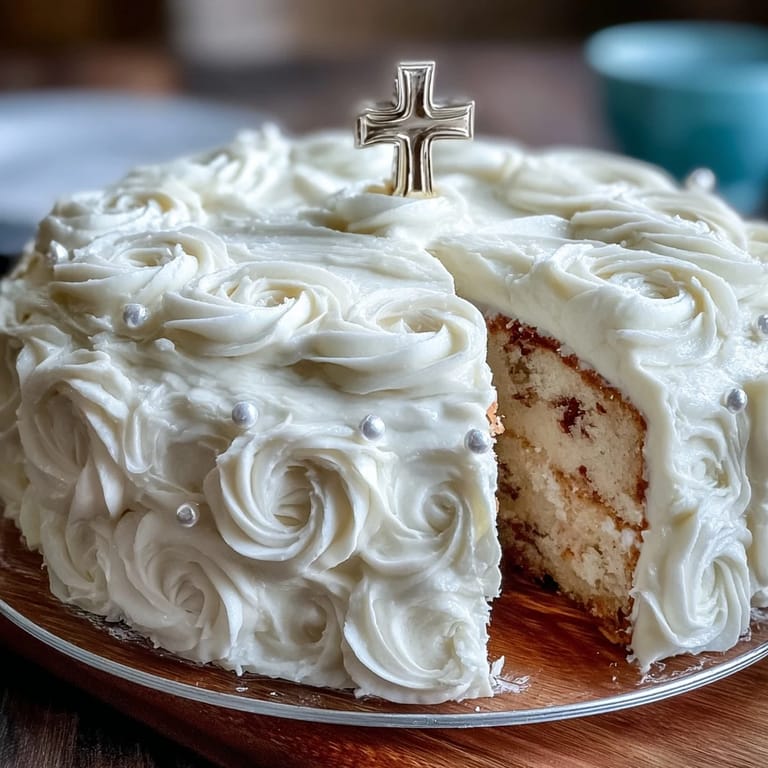
 What stayed with me most wasn't the technical satisfaction of the perfect frosting swirl or even how beautiful the finished cake looked on the table. It was watching someone take their first bite and the way their face changed—recognition of home, of vanilla, of something made with intention—and knowing that this cake would be part of a story they'd tell for years.
Making Fondant Roses Without Frustration
The first time I made fondant roses, I expected them to require some special talent I didn't possess, but after my third attempt, I realized the secret was letting go of perfection. A rose doesn't have to have every petal in exactly the right place—real roses are messy and asymmetrical, and handmade fondant roses that echo that imperfection actually look more authentic and charming. Work on a clean surface dusted lightly with powdered sugar or cornstarch so the fondant doesn't stick to your hands, and if your fingers get sticky, dip them in the same powder and keep going. The roses will soften slightly as they sit at room temperature, so if you make them the day before, they'll look softer and more delicate than if you rush to decorate right before serving.
The Buttercream That Never Breaks
Buttercream seems temperamental until you understand that it's mostly just butter whisked until light, and once you know that, you never have to fear it splitting or looking separated again. The key is patience—add your powdered sugar gradually while the mixer is running at medium speed, and let each addition get fully incorporated before adding more. If your buttercream ever does look grainy or separated, don't panic; just let it sit at room temperature for a few minutes and then beat it again, sometimes even adding a tiny pinch of salt helps it come back together.
Scaling and Storage Wisdom
This recipe makes one elegant two-layer cake that feeds twelve people comfortably, but if you need to serve more, you can easily double everything and bake four layers instead. The cake itself keeps beautifully in an airtight container at room temperature for two days, and the frosted cake can sit on the counter for up to four hours before the kitchen gets warm, or it can be refrigerated for up to three days and brought to room temperature before serving so the sponge softens again.
- If your kitchen is very warm on decoration day, chill the frosted cake between rose applications so the buttercream stays firm and your roses don't sink into a soft surface.
- Fondant is sensitive to humidity, so avoid decorating on a rainy day if you can—the moisture in the air will make it sticky and harder to work with.
- Remember that fondant tastes sweeter than buttercream, so some people prefer to eat around the decorative roses and just enjoy the cake and frosting beneath.
 Pin it
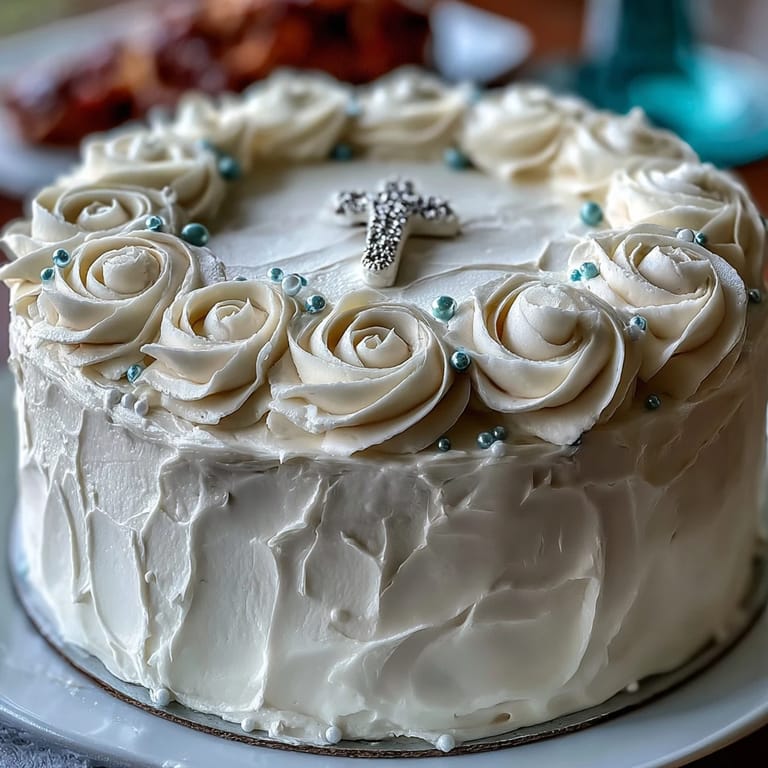
 This cake becomes something more than dessert when you make it with intention—it becomes a small, edible prayer for someone's milestone. Serve it with the knowledge that you've created something beautiful that will taste as good as it looks.
Frequently Asked Questions
- → How do I achieve a tender vanilla sponge?
Ensure butter and eggs are at room temperature and beat butter with sugar until light and fluffy. Alternate adding dry ingredients and milk gently for even texture.
- → What is the best way to make smooth buttercream frosting?
Beat softened butter until creamy, gradually add powdered sugar and vanilla, then mix in milk or cream until the desired consistency is reached.
- → How can I shape realistic fondant roses?
Roll small fondant balls, flatten into petals, and carefully assemble them in layers to mimic rose blossoms. Tint some fondant green for leaves.
- → How do I prevent the sponge from drying out during baking?
Bake at moderate temperature until a toothpick comes out clean; avoid overbaking and allow cakes to cool properly before frosting.
- → Can I customize the flavor of the sponge layers?
Yes, adding lemon zest or almond extract to the batter provides subtle aromatic variations while keeping the tender texture.