 Save
Save My neighbor knocked on the door one October afternoon with a paper bag of apples from her orchard, and I realized I'd been making caramel apples all wrong for years. Store-bought caramel had always felt waxy and one-note, but homemade? The moment that butter and brown sugar hit the pan, the kitchen filled with this nutty, toasted smell that made me stop everything just to stand there and breathe it in. That batch taught me that the best fall treats aren't about fancy equipment—they're about taking five minutes longer to do it right, and tasting the difference in every bite.
I made a batch for a book club potluck once, nervous they'd be too homemade-looking next to everyone else's store-bought desserts. One woman bit into hers and went completely quiet for a second, then looked up with this expression like she'd just discovered something she'd been missing. She ate the whole thing in about four bites while barely talking, which I took as the highest compliment possible.
Ingredients
- 8 small to medium crisp apples (Granny Smith or Honeycrisp work beautifully): Crisp varieties hold their shape and have just enough tartness to cut through the caramel—avoid anything mealy or overly soft, or you'll end up with apple mush on a stick.
- 8 sturdy wooden sticks: Flimsy sticks will snap under the weight of caramel, and that's a heartbreak you can avoid with one dollar spent on decent popsicle sticks.
- 1 cup unsalted butter: This is where the magic lives; unsalted butter lets you control the salt level and tastes noticeably cleaner than salted varieties.
- 2 cups packed light brown sugar: Pack it firmly when measuring—this builds the backbone of your caramel, giving it that deep, molasses-forward flavor that makes people close their eyes.
- 1 cup light corn syrup: This prevents crystallization and keeps your caramel smooth; don't skip it thinking you can substitute honey or other syrups.
- 1 can sweetened condensed milk: This is the secret ingredient that makes homemade caramel taste creamy and restaurant-quality without any weird aftertaste.
- 1/4 tsp fine sea salt in the caramel: Start with this amount; it balances the sweetness without making anyone wince.
- 1 tsp pure vanilla extract: Add it after you remove from heat so the heat doesn't cook off its delicate flavor.
- 2–3 tsp flaky sea salt for topping: Maldon is worth seeking out because each crystal stays distinct and crunchy rather than dissolving into the caramel.
Tired of Takeout? 🥡
Get 10 meals you can make faster than delivery arrives. Seriously.
One email. No spam. Unsubscribe anytime.
Instructions
- Set up your station:
- Line a baking sheet with parchment paper and give it a light grease so the apples don't stick. Insert wooden sticks firmly into each apple through the stem end—twist them slightly so they feel anchored, not wobbly.
- Build your caramel base:
- In a heavy-bottomed saucepan, melt butter over medium heat until it's foaming gently. Add brown sugar, corn syrup, condensed milk, and fine sea salt all at once, stirring with a wooden spoon or heatproof spatula until everything is combined and the mixture looks glossy.
- Bring it to a boil:
- Keep stirring constantly—this isn't the time to walk away. Once you see bubbles breaking the surface, attach your candy thermometer and continue stirring as it climbs toward 240°F, which should take about 10 to 15 minutes.
- Hit the soft-ball stage:
- When the thermometer reads 240°F, remove the pan from heat immediately. This temperature is where caramel stops being liquid but hasn't turned hard and brittle yet—it's the Goldilocks zone for dipping.
- Add vanilla and let it rest:
- Stir in vanilla extract and let the caramel cool for 2 to 3 minutes; it should still be pourable but thick enough to coat the apples without sliding right off.
- Dip with confidence:
- Hold an apple by its stick and dip it into the caramel with one smooth motion, turning it slightly to coat evenly. Let the excess drip off for a second, then set it on the prepared baking sheet, stick pointing up.
- Salt while it's tacky:
- While the caramel is still sticky to the touch, sprinkle each apple lightly with flaky sea salt; it will stick to the caramel and stay put as everything sets.
- Let them set:
- Give the apples at least 30 minutes at room temperature to firm up completely. If you're impatient like me, you can set them in a cool place (not the refrigerator, which can make the caramel sweat) to speed things up.
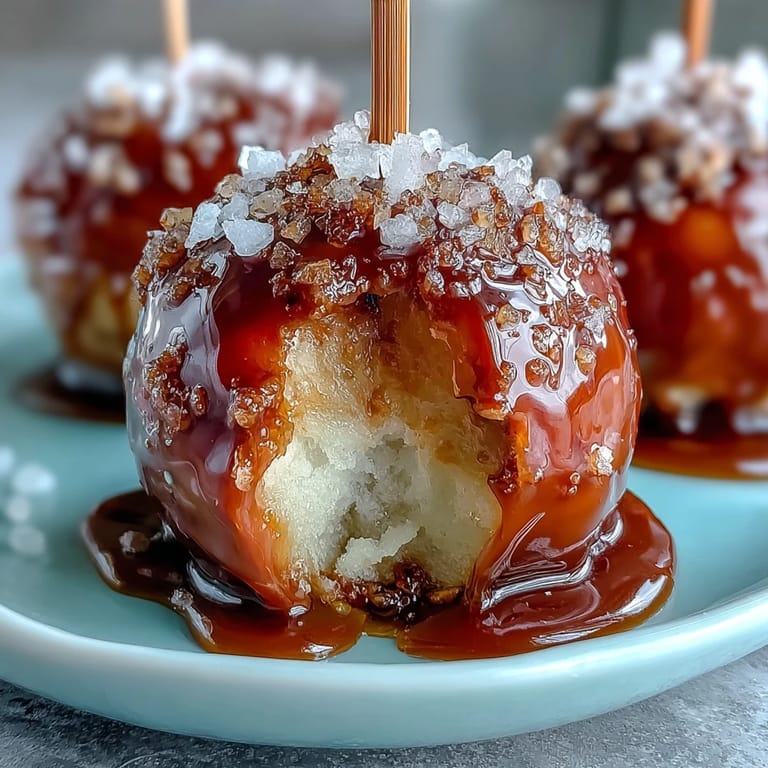
 Pin it
 There's something about watching someone bite into a caramel apple for the first time and hearing that satisfying crunch—the way the caramel cracks, the tartness of the apple brightens the sweetness, and then that salt hits and suddenly everything makes sense. That moment when food stops being just food and becomes a small, perfect experience is why I make these things.
Why Temperature Matters So Much
I learned this the hard way by skipping the thermometer and guessing. The first batch turned out like glue; the second was hard as a jawbreaker. Once I started actually measuring, everything changed—soft-ball stage (240°F) is the only place where caramel becomes creamy, clingable, and forgiving. It's the difference between something that tastes like it came from a farm stand and something that tastes like a science experiment gone wrong.
The Apple Choice Makes a Real Difference
Granny Smiths are tart and hold their structure beautifully, but Honeycrisps have a juiciness that creates this perfect contrast with the caramel's richness. Avoid Red Delicious apples—they're mealy and fall apart, and no amount of caramel can save that. I've also learned to wash my apples and then wipe them dry with a clean towel; any remaining moisture is caramel's enemy and will prevent it from sticking properly.
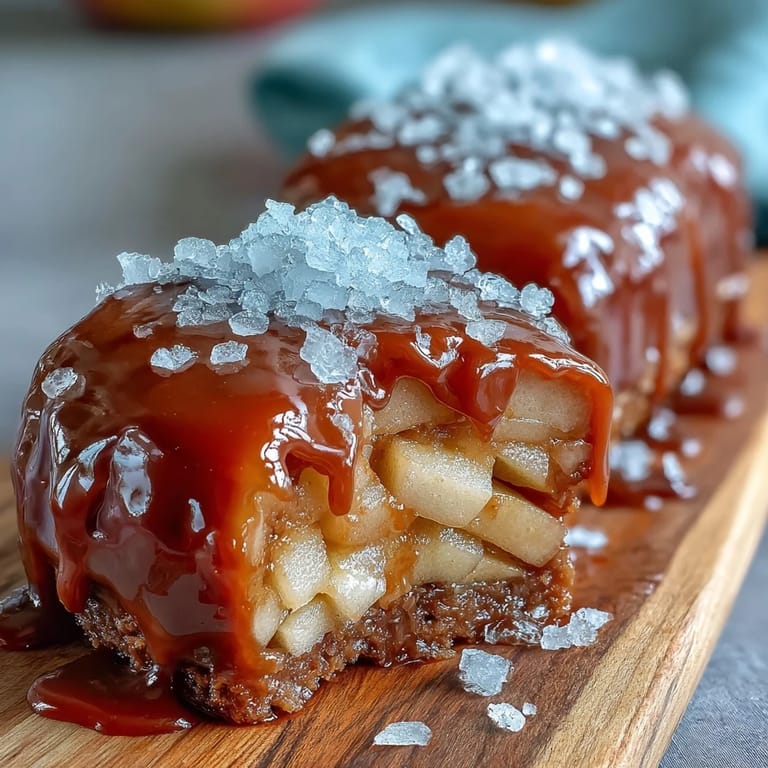
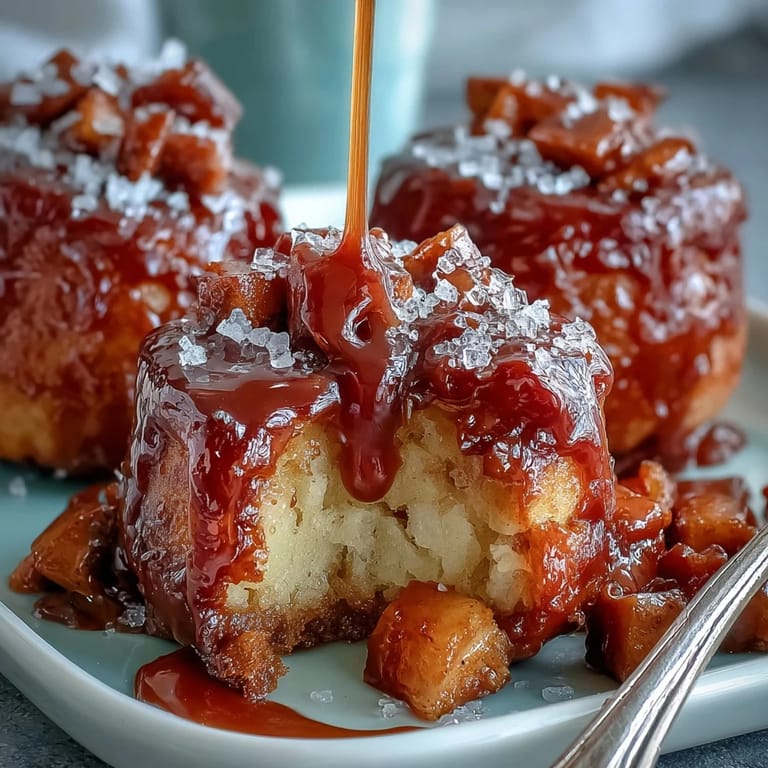
Make Them Your Own
Once you've mastered the basic version, the world opens up. I've rolled still-warm apples in crushed pecans or pistachios, drizzled them with dark chocolate once the caramel set, and even dipped them in edible gold leaf for fancy occasions. The caramel is stable enough that you can add toppings within about five minutes of dipping—after that, the surface firms up and won't hold anything else.
- Chopped toasted nuts add texture and make the apples feel dressed up without any real extra effort.
- A thin drizzle of melted dark chocolate balances the sweetness and looks more sophisticated than it has any right to.
- Don't forget that the sea salt is already doing a lot of work—sometimes simple is the most impressive version.
 Pin it
 These apples remind me that the best cooking happens when you slow down just enough to taste what you're making and let people experience it the way you intended. That's all it takes.
Frequently Asked Questions
- → What type of apples work best for dipping?
Small to medium crisp apples such as Granny Smith or Honeycrisp provide a firm texture and tartness that balances the sweetness of the caramel.
- → How do I know when the caramel is ready?
The caramel should reach 240°F (115°C), known as the soft-ball stage, to achieve the right thickness and chewiness once cooled.
- → Why is sea salt added on top?
Flaky sea salt adds a burst of saltiness that enhances the caramel’s sweetness and adds a satisfying crunch.
- → Can I add other toppings to the caramel apples?
Yes, chopped toasted nuts or drizzled melted dark chocolate make flavorful additions and add texture to the apples.
- → How do I prepare apples for better caramel adhesion?
Using apples without wax coatings or briefly dipping them in boiling water before drying helps the caramel stick evenly without slipping off.